Dev Tools > Pipeline > Console User Guide > Environment Configuration
Set Up an Environment
Pipeline uses various external systems to configure the application deployment flow. You can add external systems used by Pipeline in environment settings.
External systems that can be added to Pipeline include: - Source repository - Image registry - Build tool - Deployment target - Chart repository
Source Repository
After adding the source repository, you can build the source code using the NHN Cloud build tool. You can add repositories that can be accessed using the git commands, such as GitHub, GitLab, or GitHub Enterprise.
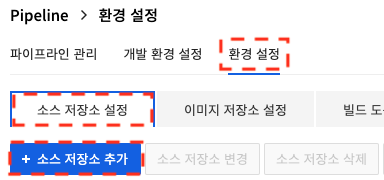
Click Source Repository Settings in Environment Settings to go to the screen to manage source repositories. You can add a new source repository by clicking Add Source Repository.
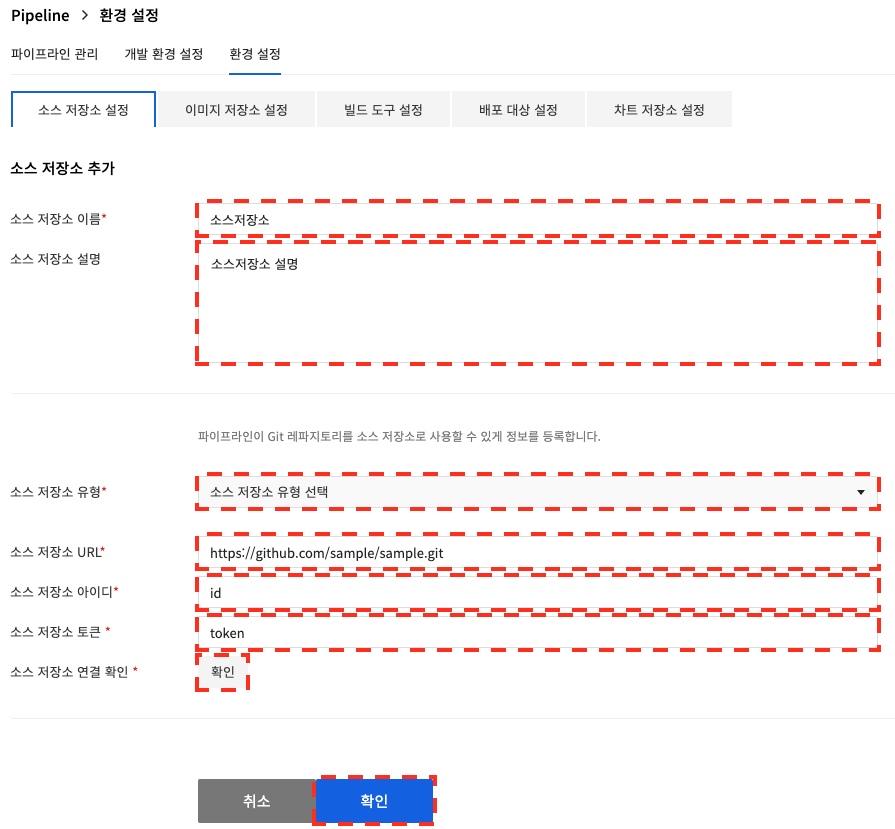
Enter the source repository information. After checking the connection, click Confirm.
- When obtaining a token for a GitLab source repository, repo permissions are required.
- When obtaining a token for a GitLab source repository, read_user, api, read_api permissions are required.

Image Registry
If you add an image registry, you can use the information to access an image registry that requires credentials. You can use the image registry when creating a container to build source code in the NHN Cloud build tool, or when uploading a newly created container image. You can also use it to set the container image that executes autorun in your pipeline autorun settings. For image registry, you can add NHN Cloud Container Registry, Docker Hub, or private image registries. When using Docker Hub, image repository URLs can be omiited.
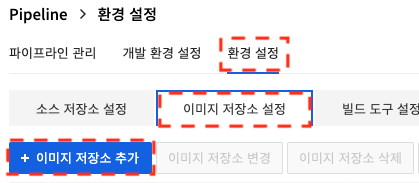
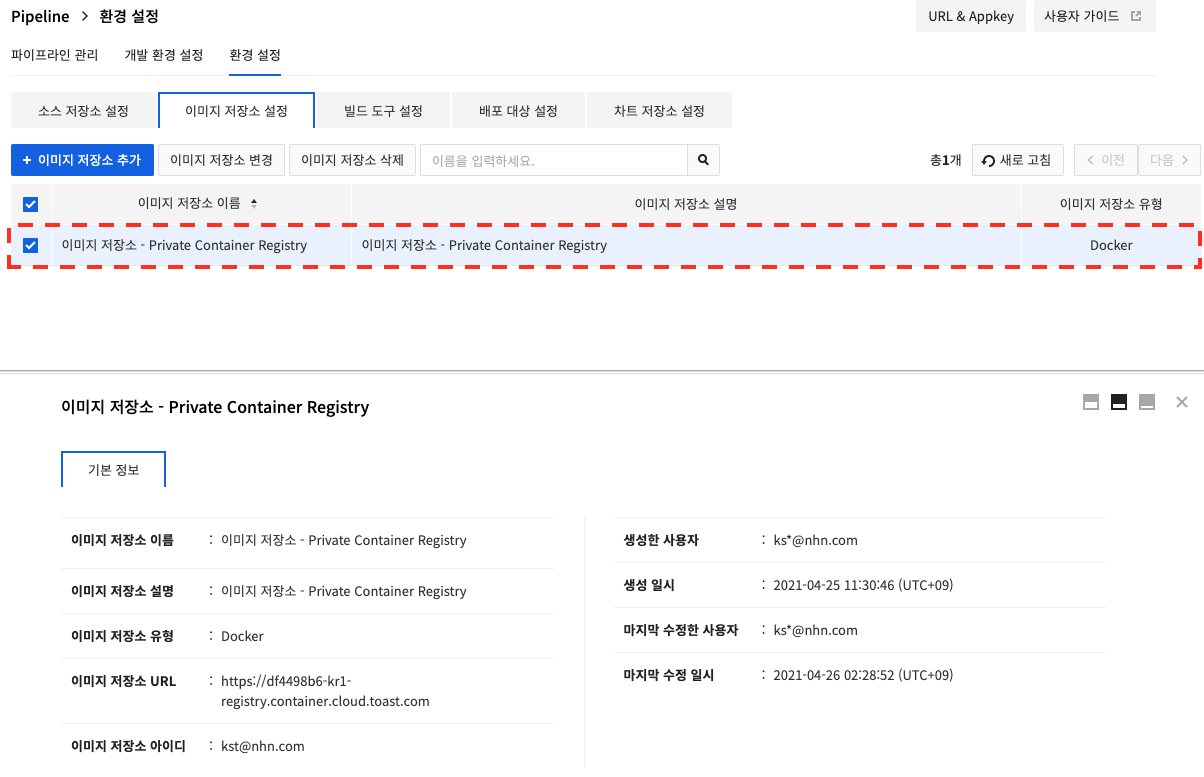
Click Image Registry Settings in Environment Settings to go to the screen to manage image repositories. You can add a ne source repository by clicking Add Image Registry.
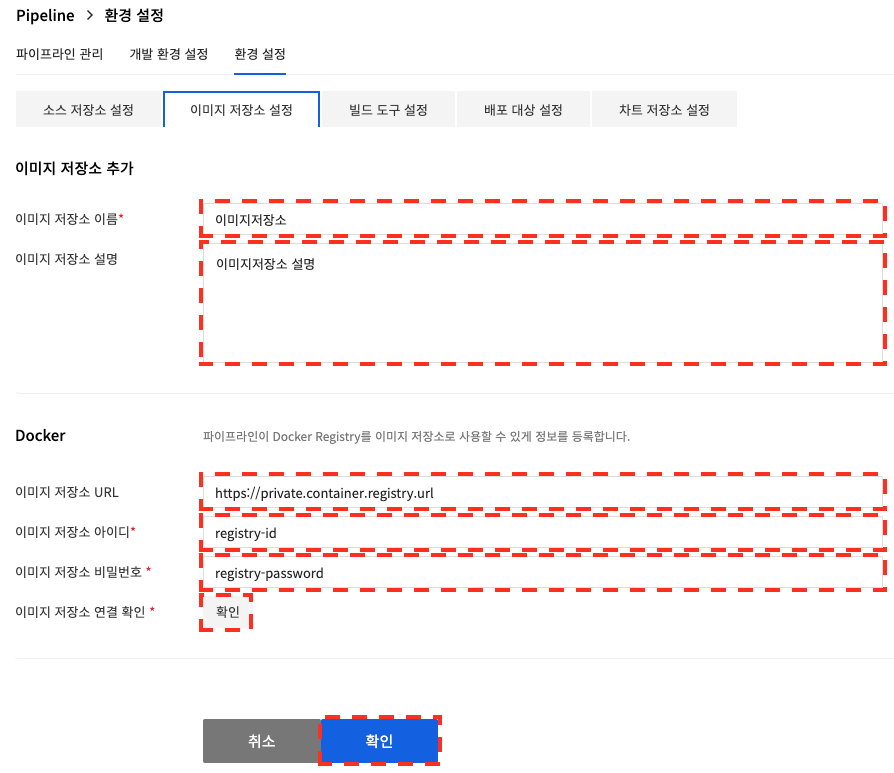
Enter the image registry information, and click Check in Image Registry Connection Check. After checking the connection, click Confirm. If you don't enter the image registry URL, it works as Docker Hub.
Build Tool
By adding a build tool, your pipeline can use the various actions you define in the build tool. For the build tool, you can add Jenkins. If you use NHN Cloud Build Tools, you can skip adding build tools.
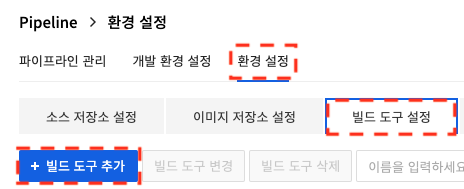
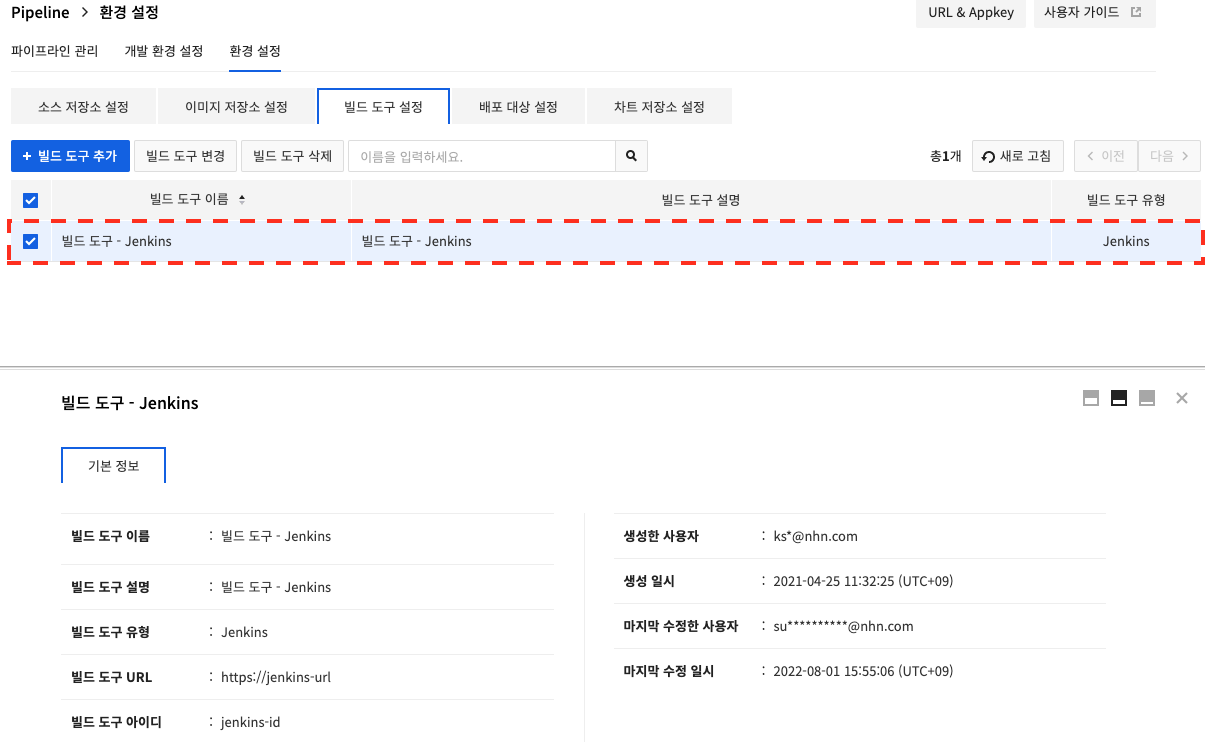
Click Build Tool Settings in Environment Settings to go to the screen to manage the build tool. You can add a new build tool by clicking Add Build Tool.
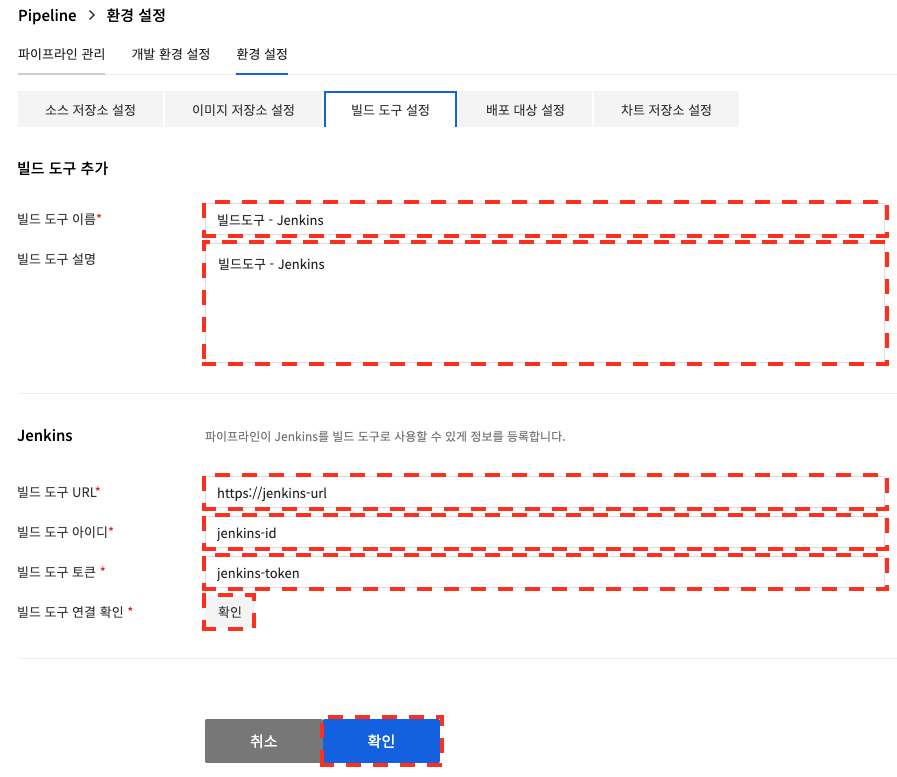
Enter the build tool information, click Check in Build Tool Connection Check. After checking the connection, click Confirm.
Deployment Target
Adding a deployment target allows you to manage the deployment target in your pipeline. You can deploy container images to deployment targets or change the running containers. For deployment targets, you can add NHN Cloud Container and Kubernetes.
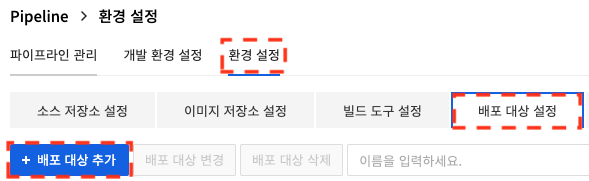
Click Deployment Target Settings in Environment Settings to go to the screen to manage deployment targets. You can add new deployment targets by clicking Add Deployment Target.

Enter the deployment target name and deployment target description, select the Kubeconfig file, and click Check in Deployment Target Connection Check. After checking the connection, click Confirm.

Chart Repository
If you add a chart repository, you can build Helm chart by using the Build - Bake (Manifest) stage. You can find how to configure a chart repository in Chart Repository Guide.
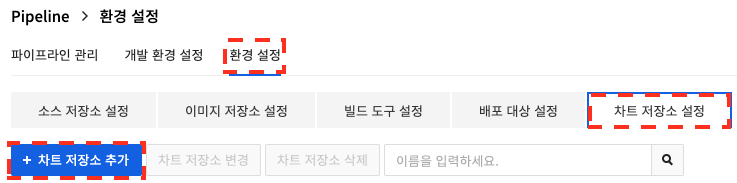
Click Chart Repository Settings in Environment Settings to go to the screen to manage source repositories. You can add a source repository by clicking Add Chart Repository.
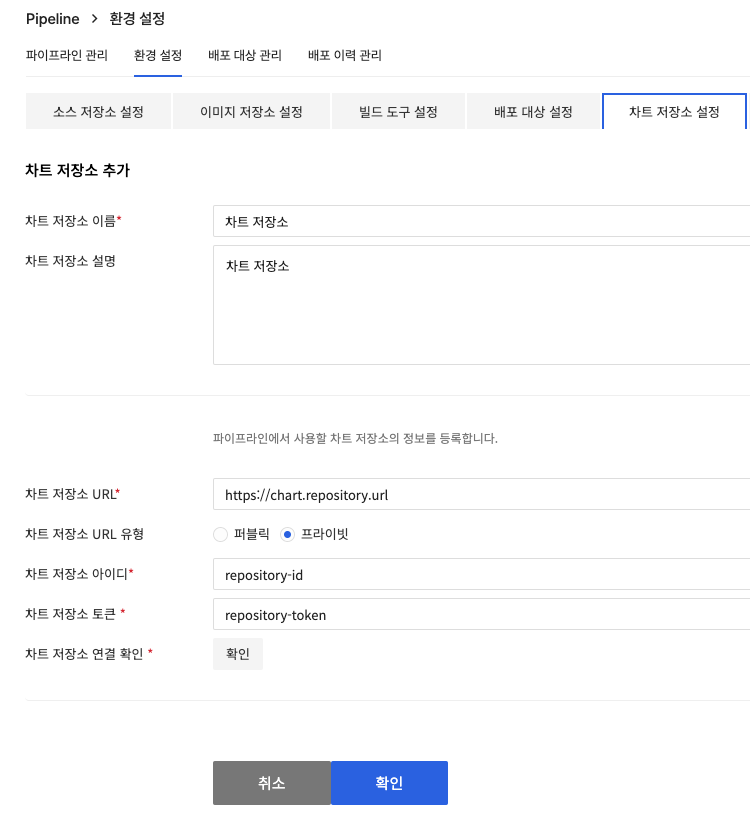
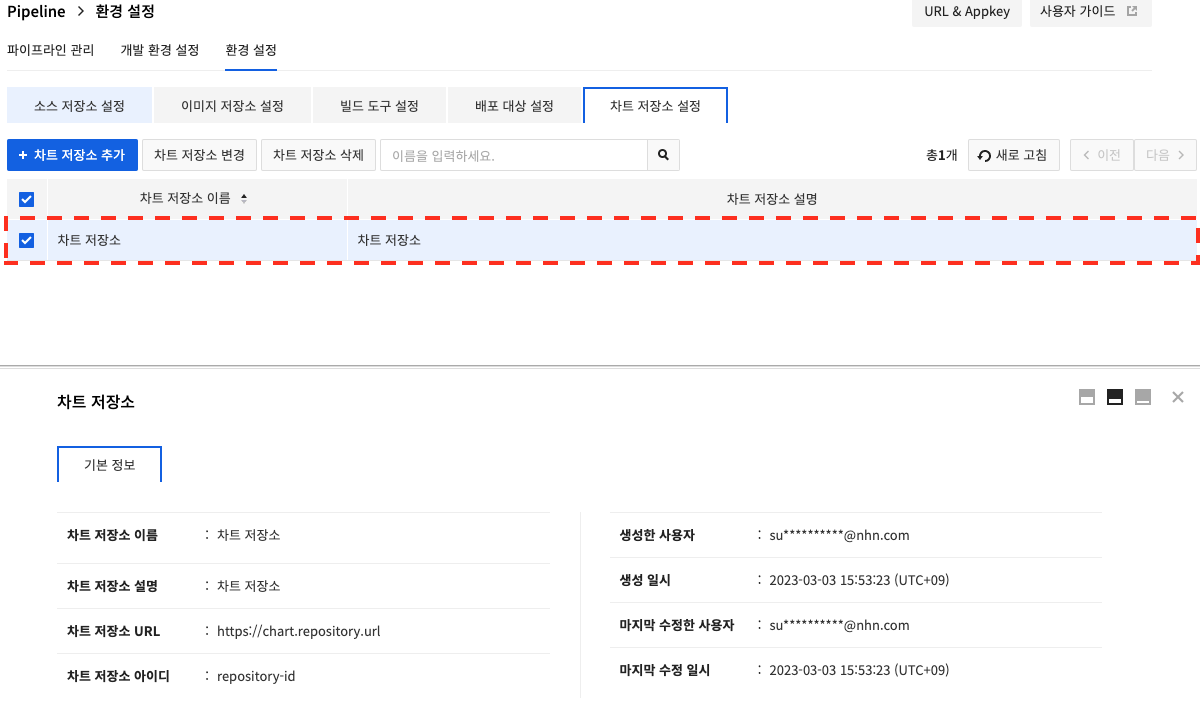
Enter the chart repository information, click Check in Chart Repository Connection Check. After checking the connection, click Confirm.
NHN Cloud Security Settings
Create User Access Key ID, Secret Access Key
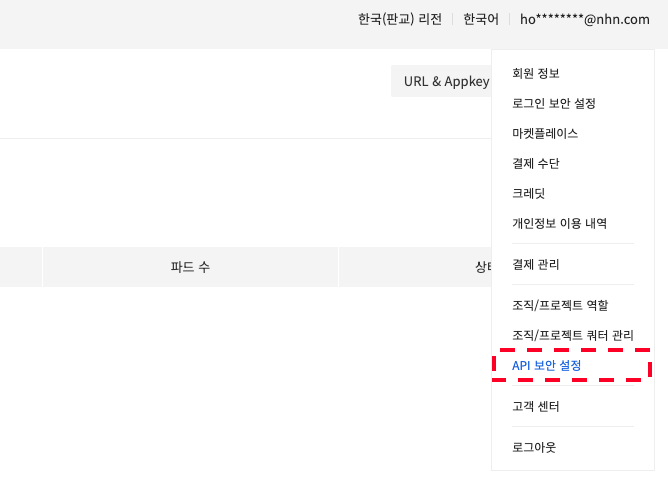
Click the ID area in the upper-right corner of the console to see the API Security Settings menu as follows.
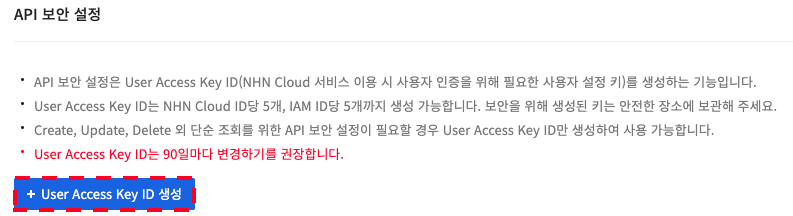
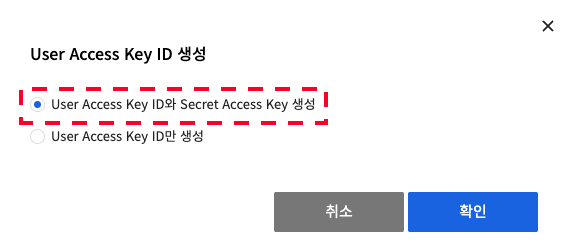
Click Create User Access Key ID in API Security Settingsto create a User Access Key ID and Secret Access Keythat you need to enter when registering for NHN Cloud security settings.
After creating User Access Key ID and Secret Access Key, the Secret key successfully issued screen is displayed as shown below. The secret key is only given to you once in that popup screen, so make sure to keep a good record of this value.

The User Access Key ID, which is required to register security settings, can be found by closing the secret key successfully issued popup.
Register NHN Cloud Security Settings
Once you add the NHN Cloud security settings, you can deploy through the NHN Cloud Deploy service using the Features - NHN Cloud Deploy service stage.

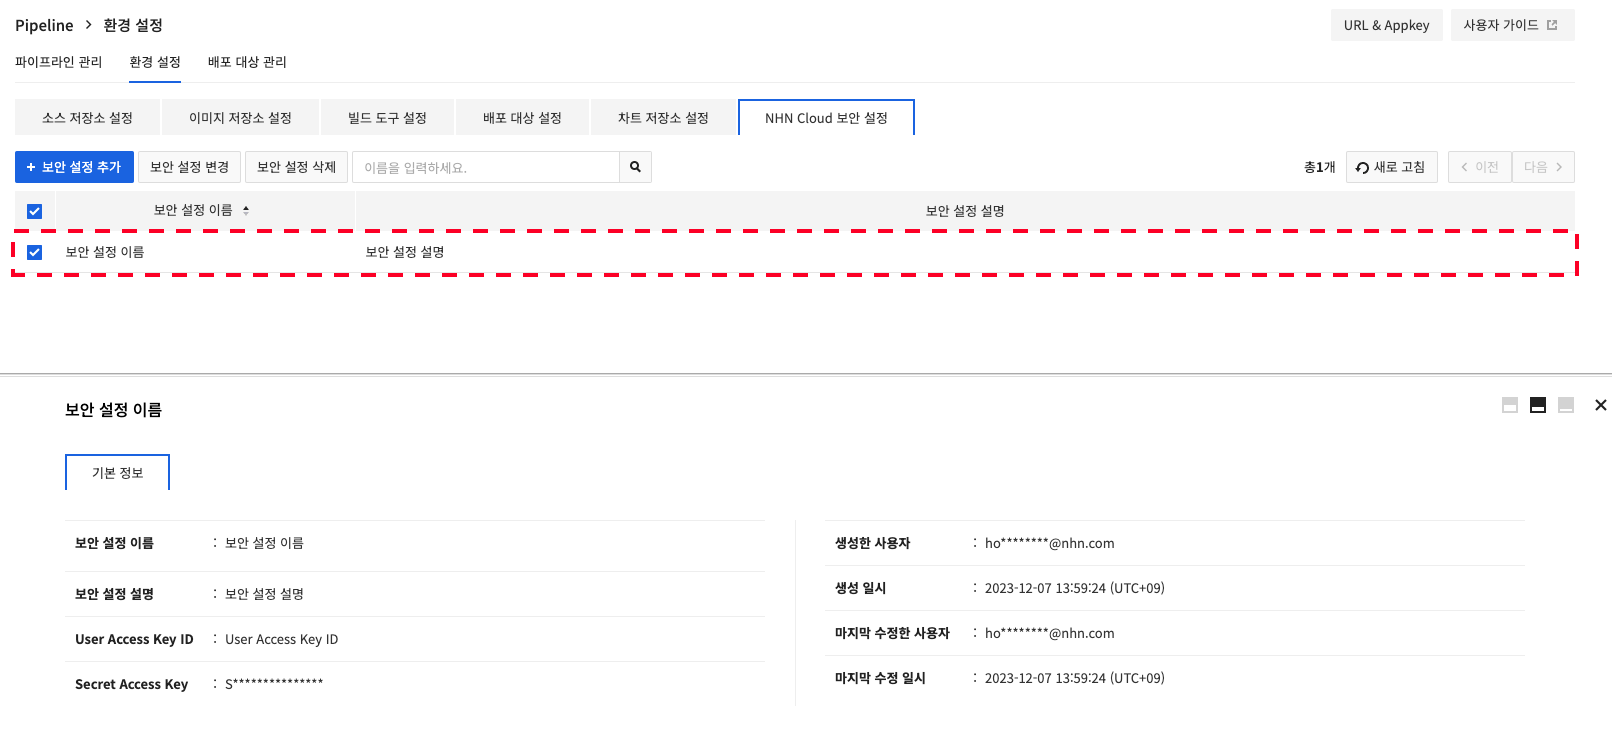
You can add a new security setting by clicking +Add security settingon the Environment Settings > NHN Cloud Security Settings screen.
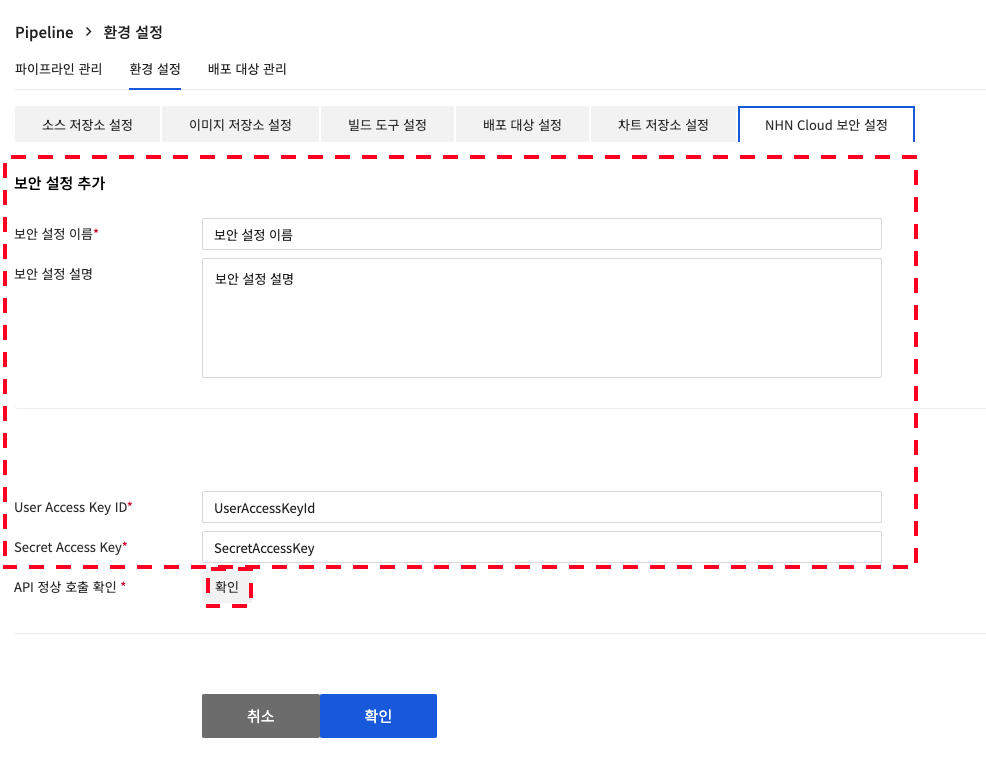
Enter the NHN Cloud security settings information, click Confirm in Check API Calls. After checking the connection, click Confirm.
Pipeline IP
If the system integrated with Pipeline does not work properly, check the ACL. The IP address used by Pipeline is 211.56.1.0/27.
| Service | CIDR |
|---|---|
| Pipeline | 211.56.1.0/27 101.79.92.0/24 |